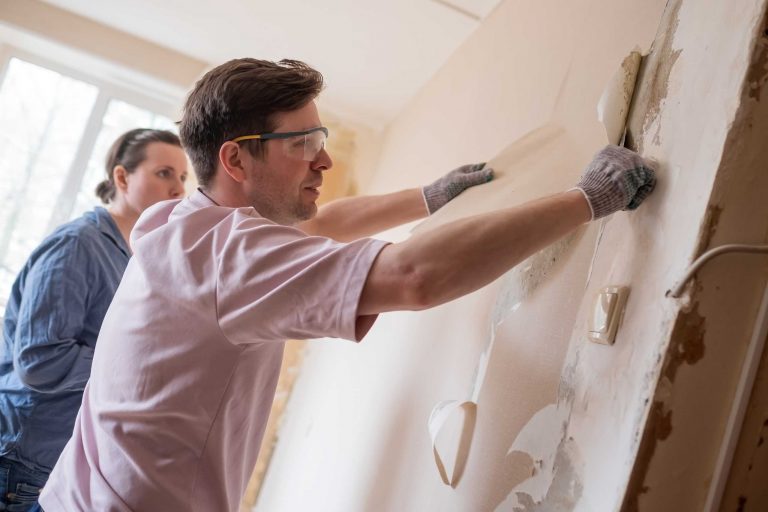
Drywall installation does not end when the boards are firmly secured. The next stage — preparing surfaces for taping and mudding — plays a defining role in how smooth and professional the final result will appear. Learners often underestimate this process, yet proper preparation ensures that seams blend seamlessly, corners remain sharp, and the surface becomes ready for painting or texturing. Mastery of this stage elevates the quality of any project, turning basic mounting into clean, refined craftsmanship.
Before applying compound, it is necessary to inspect the installation carefully. Even minor imperfections can complicate finishing work. Students learn to evaluate seam spacing, screw depth, and panel alignment. The goal is to ensure a stable foundation that requires minimal correction during mudding. This attention to detail prevents uneven layers and reduces the need for aggressive sanding later.
Surface Preparation Essentials
Preparing the surface is a step-by-step process that prepares the wall for the precision work ahead. Learners focus on simple but crucial steps that produce consistent results.
Important preparation steps include:
- Rechecking the screw heads for proper depth and adjusting if necessary.
- Cleaning dust or debris from joints and surfaces.
- Ensuring that gaps are suitable for tape placement.
- Making minor corrections to slightly misaligned edges.
These preparations create a surface that accepts compound evenly and sets the stage for clean joint lines.
Taping Technique Fundamentals
Applying tape is a deceptively simple task. While the motion itself is straightforward, the precision required makes it a skill that improves with practice. The course teaches learners how to embed tape securely and maintain consistent coverage across all seams.
Focus areas include:
- Pressing tape gently but firmly to avoid air bubbles.
- Maintaining uniform pressure along the seam.
- Using steady hand movements for long, continuous lines.
- Ensuring proper overlap in corner joints.
Confidence in taping directly influences the smoothness of the first mud layer, reducing the risk of cracks or uneven edges.
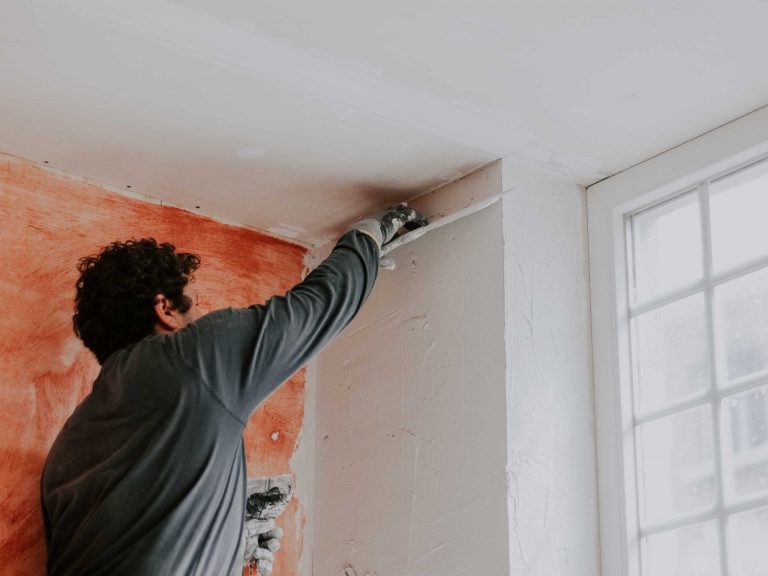
Understanding the First Coat
The first coat of compound determines how easily later coats will blend. Students practice applying a thin, even layer that secures the tape and fills initial gaps without creating heavy build-up. Precision at this stage leads to faster refinement in later coatings.
Key objectives of the first coat include:
- Embedding the tape firmly without excessive compound.
- Filling gaps consistently without overloading edges.
- Establishing a uniform layer that dries evenly.
- Controlling transitions between flat seams and corners.
Learners develop control through repeated practice, gradually achieving smoother surfaces with each attempt.
Developing a Finisher’s Mindset
Finishing readiness requires both technique and patience. Rushing the early stages leads to uneven surfaces, time-consuming corrections, and reduced stability. Students are encouraged to approach this phase with a clear, organized system. Proper preparation, steady taping, and controlled compound application transform the installation into a polished final product.
As learners refine these skills, they gain confidence not only in finishing but in the entire drywall process. Preparing for taping and mudding becomes a hallmark of their growing proficiency, bridging the gap between basic installation and true professional capability.